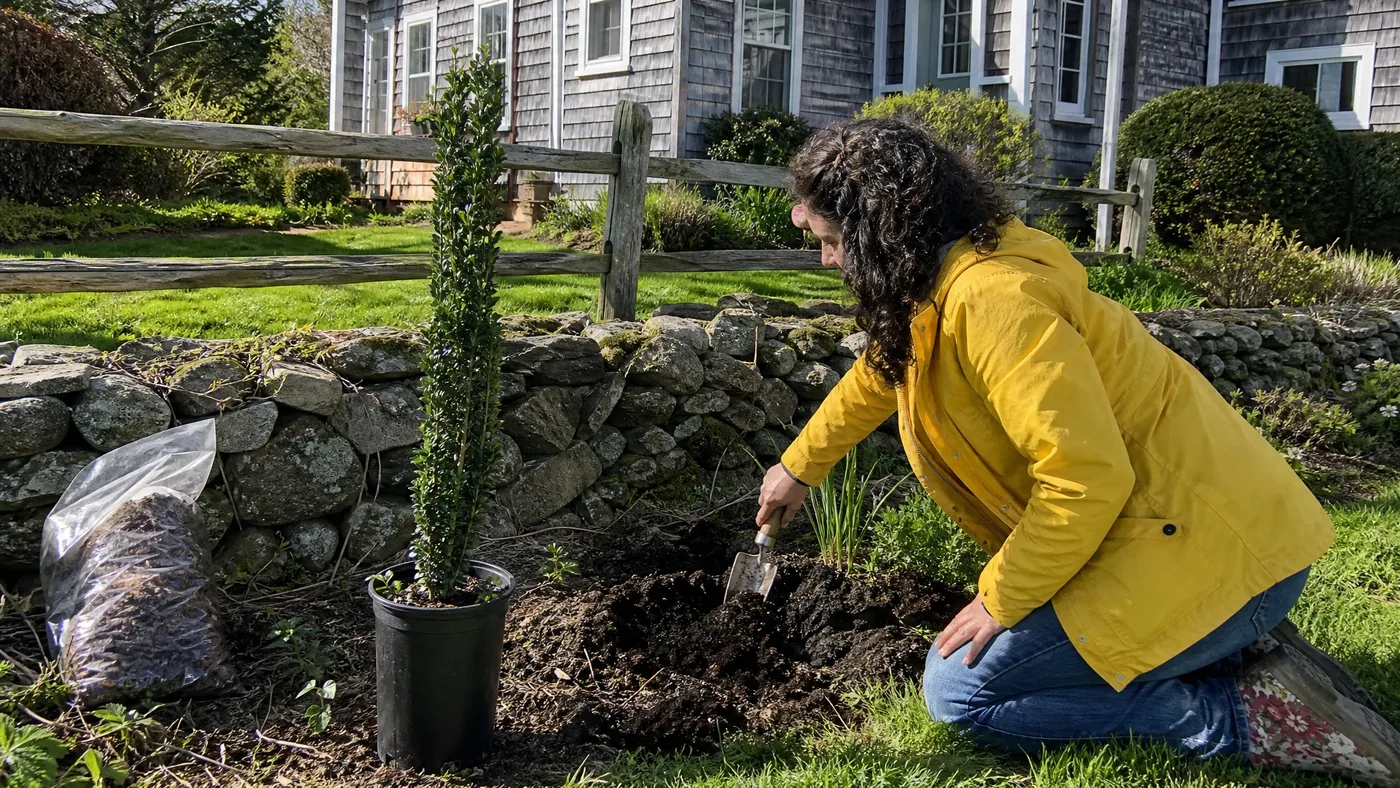
Best Soil for Sky Pencil Japanese Holly and How to Amend It
What we tell customers is to give Sky Pencil moist, well-drained, acidic soil that's rich in organic matter. Skip that and the roots rot in wet clay, the leaves yellow in alkaline ground, and the column never fills out.
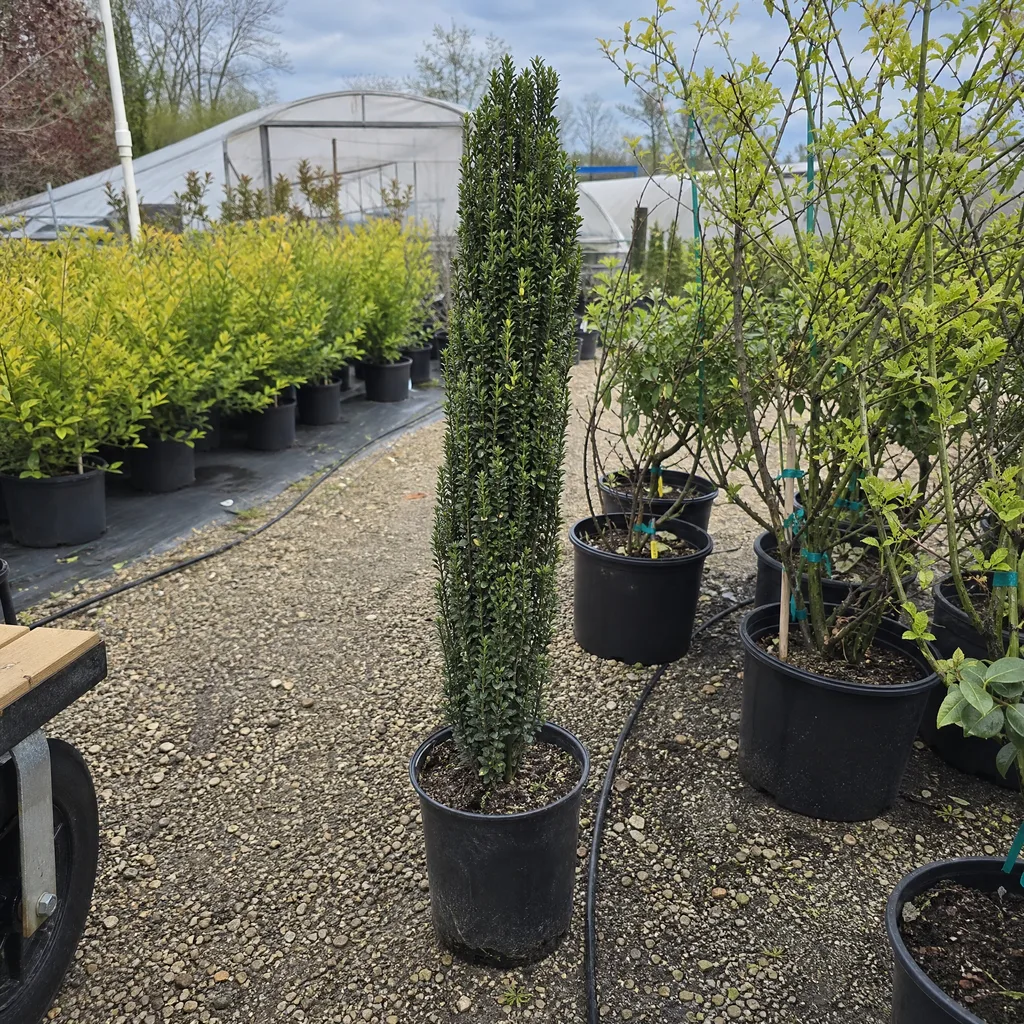
One of the most common questions we get is what soil Sky Pencil needs, and the answer is moist, well-drained, slightly acidic ground rich in organic matter. Get it wrong and the roots rot in wet clay, the leaves turn yellow in alkaline soil, and the plant never fills out into the dense, upright screen you bought it for.
Sky Pencil stays only 1 to 3 feet wide, so a narrow column depends on a healthy root zone more than a wide shrub does. By year five, a well-planted one is a tight green exclamation mark in the border. A poorly planted one is thin, gappy and pale at the base.
We'll walk you through the soil it wants and the mix we use, then the test, the seven planting steps, and the problems we see most often.
The Soil Sky Pencil Holly Wants
Here is the direct answer, along with the reasons behind it.
Sky Pencil Japanese Holly performs best in loamy or sandy loam soil: crumbly, open texture that holds consistent moisture without becoming waterlogged. The species is native to Japan, Korea, China, and Taiwan, where it grows in forest understory soils rich in decaying leaves and organic material. That heritage shapes what it wants from your garden: acidic to slightly acidic conditions, ideally in the 5.0 to 6.5 pH range.
You don't need to chase a very low pH. Acid or neutral soil is suitable, so the goal is simply to stay out of alkaline territory.
Balancing Drainage, Moisture, and pH
Drainage matters as much as moisture. The shrub needs consistent moisture but does not tolerate prolonged drought or waterlogged soil. Most people miss this balance: they either add only compost (which can compact further in clay) or they skip organic matter entirely (leaving the soil too sandy or depleted). Good soil for Sky Pencil Holly is a blend, not a single ingredient.
pH is critical. In alkaline soil above pH 6.5, Sky Pencil Holly often develops chlorosis, the yellowing of leaves while the veins stay green. The plant cannot access iron in high-pH conditions, even if iron is present chemically. This looks like nutrient deficiency but is actually a pH lock. Testing before planting saves years of frustration.
We often see yellowing along concrete walks and foundations, where lime leaches into the bed. If your planting spot is next to either, test it first.
Why We Skip the Deep Hole
One piece of common advice we don't follow is digging a single deep hole and filling it with rich amended soil. In clay, that hole becomes a bowl that collects water and rots the roots. We amend the whole bed instead, which is why the steps below work the entire area.
Key Soil Components You'll Need
To build or amend soil for Sky Pencil Holly, you're working with three layers: mineral soil as a base, organic matter for structure and moisture, and coarse drainage materials for aeration.
Organic Matter (40 to 50% by volume): Use compost, composted bark, peat moss, or aged pine needles. Compost adds nutrients and beneficial soil organisms. Peat moss acidifies the soil and holds moisture exceptionally well. Pine needles do not meaningfully lower soil pH, because microbes neutralize them as they decompose. Always use aged materials, because fresh compost ferments as it breaks down and ties up nitrogen, starving plants for a season.
Drainage Materials (10 to 15% by volume): Coarse sand (not playground sand), perlite, or small-grade gravel (3/16-inch to 1/4-inch size) improves aeration in clay-heavy soils. Do not skip this step if your native soil is clay, because drainage material is what prevents the soil from re-compacting after you've worked it.
Native Soil (30 to 40% by volume): Whatever you have on site. If it's clay, you'll increase the amendment ratio. If it's already sandy or loamy, you can keep more native soil and use less total amendment.
Test Your Soil Before You Amend
A soil test from your local extension service tells you texture, pH, organic matter percentage, and nutrient levels. Cost is typically 15 to 40 dollars, and the results guide exactly how much of each amendment to add. This one step prevents guessing.
No formal test available? Do a quick jar test. Fill a straight-sided glass jar halfway with soil from your planting area, add water, close the lid, and shake hard for 2 minutes. Set it down and observe. Sand settles in minutes. Silt takes an hour or two. Clay takes 24 to 48 hours. The layers reveal your soil's texture. If clay is a thick band at the bottom, plan on more aggressive amendment.
For pH, an inexpensive soil pH meter costs 10 to 20 dollars and works immediately. Test several spots in the planting area, because soil pH often varies across a yard. Many yard soils run higher than you'd expect, especially near concrete and foundations.
Step-by-Step: Build the Bed and Plant Your Sky Pencil
Follow these seven steps whether you're amending an existing bed or building one from scratch.
Step 1: Clear the Planting Area
Remove grass, weeds, and debris where you'll plant. For a single shrub, clear a circle 3 to 4 feet across. For a hedge, work along the entire planting line (our spacing guide for hedges and screens tells you how far apart to set the plants). Dig out roots from tree stumps or removed shrubs, because they interfere with drainage and new root spread.
Step 2: Loosen the Native Soil
Turn the soil 8 to 12 inches deep with a spade or rototiller. Break up compacted or clay-heavy soil thoroughly. The deeper and more thorough the breakup, the better the drainage and root establishment. This loosening also creates space for amendment particles to distribute evenly.
Step 3: Calculate and Gather Amendments
For one Sky Pencil Holly in a 3-by-3-foot bed, plan on roughly 2 to 3 cubic feet of amendments total. For a hedge 6 feet long and 3 feet wide, scale proportionally. A typical amendment recipe:
- 40 to 50 percent compost or aged bark
- 30 to 40 percent native soil (the existing soil you loosened)
- 15 to 20 percent peat moss or aged pine needles (for acidification and moisture retention)
- 10 to 15 percent coarse sand or perlite (for drainage)
If your native soil is very heavy clay, increase amendments to 60 percent and reduce native soil to 40 percent. If your soil is already sandy or loamy, you can use more native soil and proportionally less amendment.
Step 4: Mix Amendments Into the Planting Bed
In the cleared area, mix your amendments into the loosened native soil using a spade or tiller. Blend thoroughly until the texture is uniform and crumbly. You should not see pockets of pure compost or pure native soil. This homogeneous blend is what your Sky Pencil Holly roots will grow into.
Step 5: Test and Adjust pH
If your test showed pH above 6.5, add sulfur to lower it. The amount depends on how high your pH is and your soil type, so follow your extension service's rate table or test kit guidance. Plan to amend well before planting, because sulfur takes weeks to months to lower pH effectively.
If your pH is below 5.0, add a handful of powdered lime per 3-by-3-foot bed to bring it up slightly. Sky Pencil Holly tolerates acidity well, but extremes below 5.0 can tie up trace nutrients.
Step 6: Plant at the Correct Depth
Dig a hole as deep as your Sky Pencil Holly's root ball and three times as wide. Set the plant at the same depth it was growing in the nursery pot, because planting deeper creates a sunken pool that traps water and invites stem rot. Backfill with the same blended soil you mixed into the bed, press gently to remove air pockets, and water deeply to settle the soil and contact the roots. Our planting guide covers the rest of the process.
Step 7: Mulch and Monitor
After planting, spread 2 to 3 inches of mulch (composted bark, shredded leaves, or aged pine needles) around the base, staying 3 inches back from the stem. Mulch moderates soil temperature and moisture. As it breaks down over months and years, it adds more organic matter and feeds the soil naturally. Refresh mulch annually each spring to maintain 2 to 3 inches depth.
What Goes Wrong: Sky Pencil Soil Problems and Mistakes
Sky Pencil's narrow column hides trouble. By the time the top yellows or thins, the roots have usually been struggling for a season. These are the problems and mistakes we see most.
Soil Problems and Fixes
This table matches each symptom to its likely soil cause and the fix we use. For watering questions, see our watering schedule.
| Problem | Cause | Solution |
|---|---|---|
| Yellowing leaves (veins stay green) | Soil pH above 6.5, with iron locked up in alkaline conditions | Test pH. Add sulfur to lower it over multiple seasons, or apply iron chelate spray as a temporary fix. Acidify soil before planting in new beds. |
| Waterlogged soil or root rot smell | Poor drainage, compacted layer below, or standing water | Add coarse sand and compost to aerate the soil. If water pools in the bed, dig a drainage swale or build a raised bed. |
| Slow growth and spindly stems | Soil too sandy or depleted, with low organic matter | Top-dress with compost annually. Mix in peat moss or aged bark to retain moisture and nutrients. |
| Plant wilts despite recent watering | Compacted soil blocks water from reaching roots | Aerate the area around the plant. Mulch to loosen the surface. Water slowly, in multiple sessions, to allow deep infiltration. |
Common Mistakes to Avoid
Most soil mistakes come from doing one part of the job and skipping the rest.
Over-Amending With Compost: Too much rich compost can encourage soft, weak growth and attract pests. Stick to 40 to 50 percent compost at most. Balance it with mineral soil and coarse drainage materials for a strong root system.
Neglecting the Drainage Layer: Adding compost without coarse sand or perlite still leaves clay compacted beneath. You must improve aeration, not just add organic matter. If you skip the drainage layer, the plant will struggle in clay-heavy soil regardless of compost content.
Planting Too Deep: Setting the shrub deeper than it was in the nursery pot creates a sunken pool that traps water. Stem rot follows. Always match the original planting depth.
Ignoring pH Over Time: Compost and natural weathering gradually shift pH. Re-test every 2 to 3 years if you see yellowing or slow growth. Slight pH drift is normal and manageable with minor sulfur or lime adjustments.
Using Fresh Compost or Bark: Fresh materials ferment as microbes break them down, tying up nitrogen and starving plants for a season or two. Always use aged compost and composted bark.
Keeping Sky Pencil Soil Healthy Year After Year
After the first growing season, soil work is mostly automatic. Each spring, refresh mulch to 2 to 3 inches and let leaf litter and decomposing mulch feed the soil. In sandy sites, top-dress with compost every 2 to 3 years. In clay sites, keep mulch thick and consistent to prevent re-compaction.
Sky Pencil is a slow-growing evergreen, so don't try to speed it up with rich soil or heavy feeding. What we tell customers is to fix the soil once and let the mulch do the work. Our fertilizing guide covers the little extra it needs.
For care beyond soil, see our complete Sky Pencil Japanese Holly care guide. It covers planting, watering, pruning, and seasonal maintenance in USDA zones 5 to 8. NC State warns of heat and humidity trouble in the warmest zones, where drainage matters even more.
Quick Reference: Soil Amendment Checklist
Use this checklist to keep each soil task and its timing in one place.
| Task | Timing | Details |
|---|---|---|
| Test soil pH and texture | Before planting | Target pH 5.0-6.5, loamy or sandy loam texture preferred |
| Loosen native soil | Before planting | 8-12 inches deep, and break up clay thoroughly |
| Mix amendments into bed | Before planting | 40-50% compost, 30-40% native soil, 15-20% peat/pine needles, 10-15% sand/perlite |
| Adjust pH if needed | Before or at planting | High pH: add sulfur. Low pH: add powdered lime (follow extension service rates) |
| Plant at original depth | Spring or fall | Dig hole 3x root-ball width, same depth as nursery pot |
| Apply mulch | After planting | 2-3 inches of composted bark, leaves, or pine needles, kept back 3 inches from stem |
| Refresh mulch | Each spring | Add 1-2 inches to maintain 2-3 inch depth |
| Re-test pH if yellowing appears | Every 2-3 years | Adjust sulfur or lime as needed, since soil pH can shift gradually over time |
Sky Pencil Soil Done Right: What to Remember
Test first, then blend native soil, compost, peat or pine needles, and coarse sand into the whole bed. Plant at nursery depth, mulch, and re-test if the leaves yellow. Do that and your Sky Pencil holds a tight, even column for years instead of thinning at the base.
Sky Pencil Japanese Holly
Nursery-grown Sky Pencil Japanese Holly in sizes from 1-2 ft. #1 Container, shipped to your door.
From $80.55
Shop Now →We are a small business, and we grow and sell top-quality shrubs on our own farms. Our growers watch for yellowing new leaves in spring, soggy beds after summer storms, and thin mulch before winter, and every one of those points back to the soil.