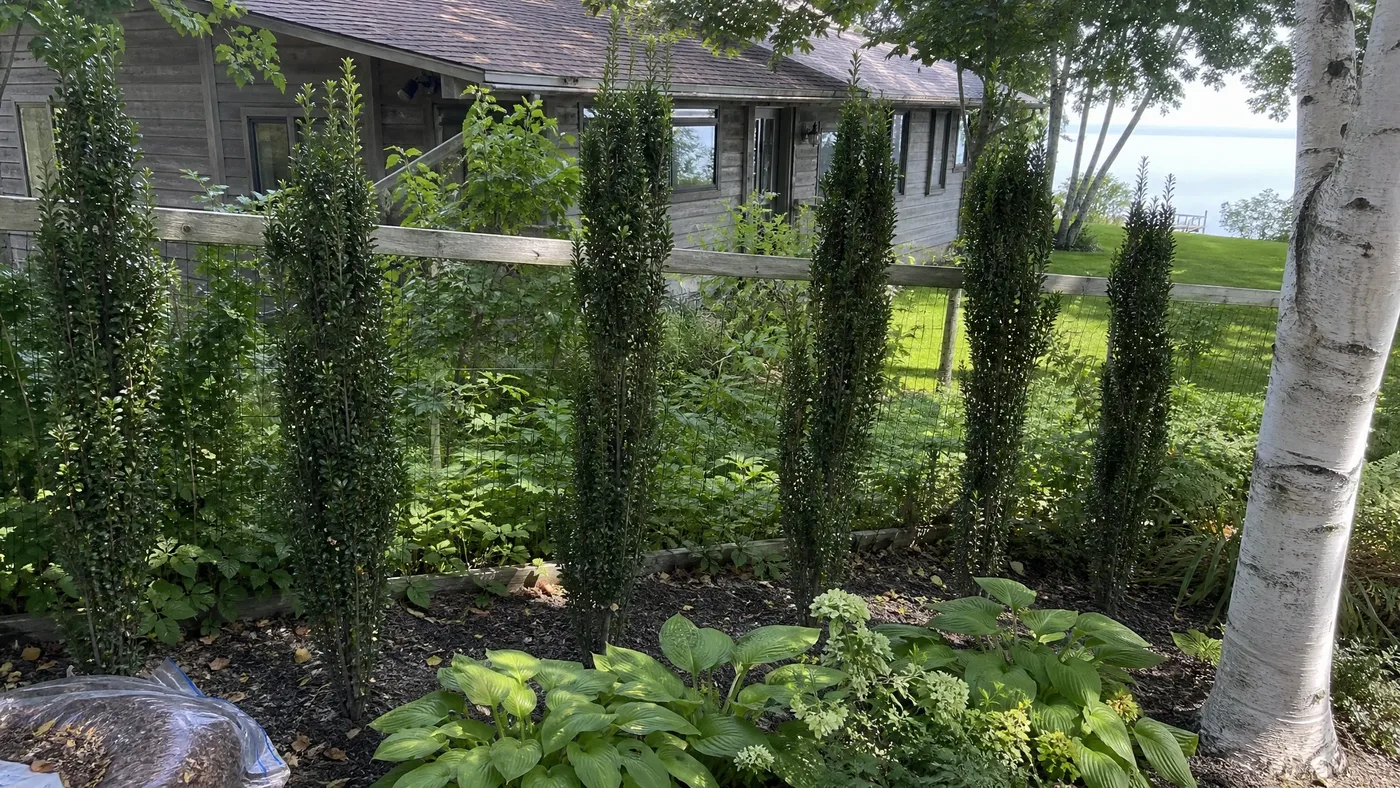
Sky Pencil Japanese Holly Spacing for Hedges and Privacy Screens
Your Sky Pencil hollies just came off the truck and are standing in their pots along the fence line, waiting for you to decide where they go. Settle the spacing before you dig. It decides whether you get a solid green screen or a row of lonely columns.
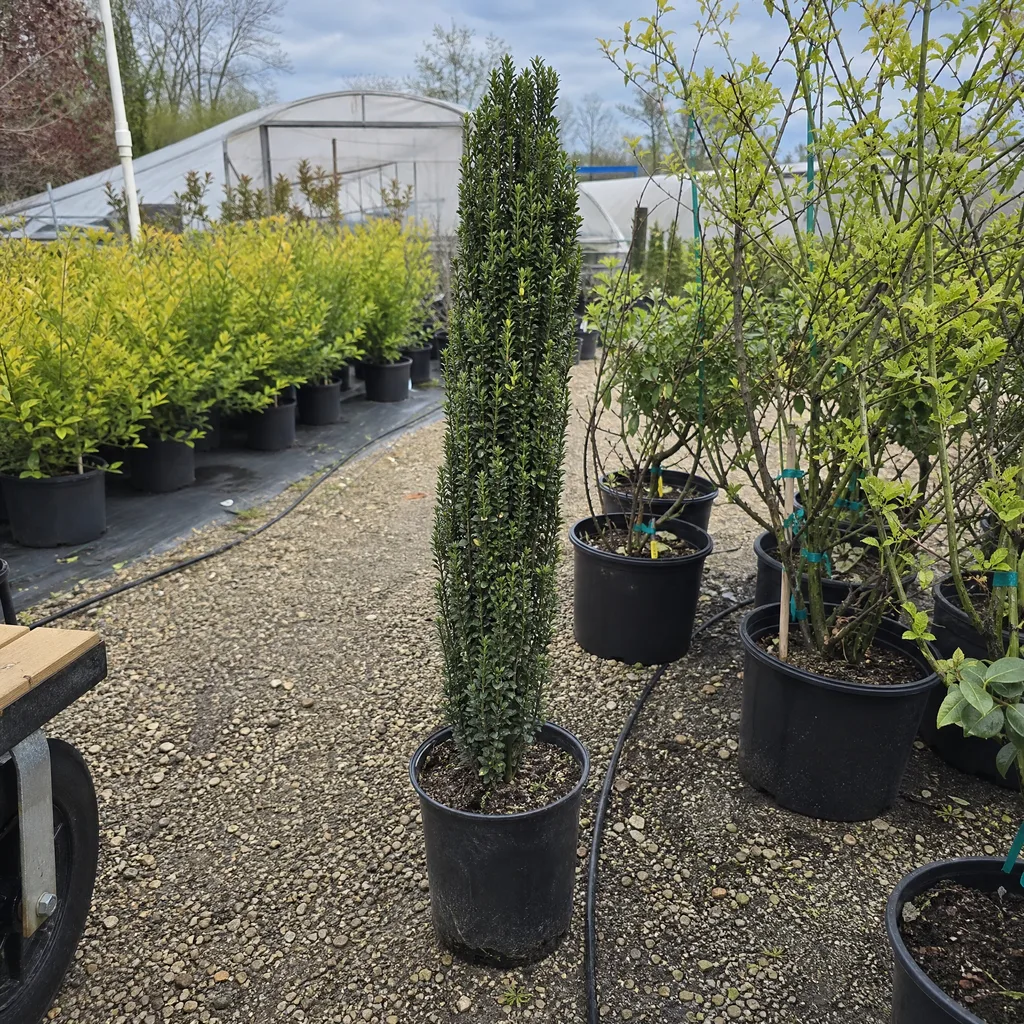
This article talks about how far apart to plant Sky Pencil Japanese Holly for hedges and privacy screens and answers the questions customers ask us most. Read on to learn the spacing mistakes we see most often, how to match 1-, 2- and 3-foot spacing to your goal, how to measure and plant the row, and what the hedge looks like by year five. Get it wrong and you wait years for gaps to close, or you crowd plants that never form their slim shape.
The Sky Pencil Spacing Mistake We See Most
The mistake we see most is spacing Sky Pencil like an ordinary holly. The species spreads 5 to 8 feet wide, so general advice says to plant 4 or 5 feet apart. We don't follow that advice here, because this cultivar stays narrow. These are the four errors that follow.
Planting Too Far Apart. Spacing Sky Pencil like the species is the root of the problem. Customers usually ask us whether 3 feet is too far for a privacy screen. It isn't, but 4 or 5 feet is.
Planting Too Far Apart
At 4 or 5 feet apart, individual plants won't knit together into a screen. You end up with a line of separate shrubs instead of a unified hedge. This isn't wrong, but it's a different effect. If this is your intent, call it a screen of accent plants, not a hedge.
Planting Too Close
Planting at 1 foot apart when you really wanted 2 feet creates a hedge so dense that plants spend years competing for light and moisture. The hedge never develops the strong columnar form it should.
Uneven Spacing
Haphazard gaps of 1.5 feet here and 3 feet there create a hedge that fills in unevenly. Some sections will look dense at year three while others still feel open. Take time to measure accurately.
Ignoring Soil Prep
Planting in poor or alkaline soil stunts growth and causes leaf yellowing. Even if spacing is perfect, poor soil means slow fill-in and weak plants. Amend before planting.
Choosing Sky Pencil Spacing for Your Goal
Sky Pencil grows 1 to 3 feet wide, so the right spacing depends on how you want the finished screen to look. Here is how the range plays out.
The standard spacing for Sky Pencil Holly in a hedge or privacy screen is 1 to 3 feet apart. That range spans a spectrum from a solid wall to a more open, contemporary look. The difference comes down to fill-in speed, mature density, and how much sky you want to show between the columnar forms.
At 1 foot apart, you get a dense hedge that fills in quickly and reads as a unified screen even when young. At 2 feet apart, you see individual plant silhouettes but they knit together as they mature. At 3 feet apart, each plant stands more distinctly, and you see more air and light between the columns. All three work. Your choice depends on your landscape intent and patience for maturity.
In our rows, we plant at 18 inches for most hedges, because it gives a unified screen without crowding. Use 1 foot only if you accept that the plants will compete. The table below sums up each option.
| Spacing | Plants per 10 Feet | Effect | Year-3 Appearance | Best For |
|---|---|---|---|---|
| 1 foot | 10 | Dense, wall-like | Solid screen | Maximum privacy fast |
| 1.5 feet | 7 | Dense with form | Unified hedge | Formal hedges, most situations |
| 2 feet | 5 | Individual plants, knit together | Open hedge | Contemporary look, space-conscious |
| 3 feet | 3 | Separate columnar accents | Spaced plants | Display individual form, longer fill-in |
Measure and Mark Your Planting Line
Start by determining your hedge length and sketching out placement. Measure the distance where the hedge will go and divide it into sections using your chosen spacing.
Let's work through an example. Suppose you want a privacy screen 20 feet long and prefer the filled-in look. Using 1.5-foot spacing: divide 20 by 1.5 and you get roughly 13 plants. If you chose 2-foot spacing instead, you'd need 10 plants. If you went to 3 feet, you'd need 7.
Write down the number of plants you need and the exact spacing in feet and inches. This becomes your planting guide and saves mistakes once you're in the ground.
Lay out your hedge location with a garden hose or chalk line so you can visualize the exact path. For a formal hedge, use a straight line. For a more naturalistic screen, you can gently curve it, but keep the curve gradual so plants don't end up in unexpected spots.
Mark the center point where each plant will go. Use wooden stakes, flour, or spray paint. Space each mark according to your plan. Step back and look at the marks from a distance. They should feel balanced and intentional, not cramped or too sparse.
If your marked line doesn't feel right, adjust it before you dig. Moving stakes takes minutes, and moving planted hollies takes hours.
Plant Your Sky Pencil Hedge Step by Step
Once the line is marked, gather your supplies and work down the row one plant at a time. For a closer look at the technique, see our guide on how to plant Sky Pencil Japanese Holly the right way.
Tools and Materials
Have everything on hand before you start, so you aren't walking back to the garage with a plant sitting in an open hole.
- Sky Pencil Japanese Holly plants (#1, #3, or similar container sizes)
- Shovel and spade
- Garden hose or soaker line
- Measuring tape and string
- Wooden stakes or spray paint for marking
- Amendments: peat moss, compost, or aged bark (for soil preparation)
- Balanced or acid-forming fertilizer (azalea or holly type)
- Mulch (2 to 3 inches, pine bark or cedar preferred)
- Work gloves and pruning shears
The Six Planting Steps
Follow these steps in order for each plant along your marked line.
Step 1: Prepare the Soil
Sky Pencil Holly does best in moist, well-drained soil high in organic matter. Work your planting bed ahead of time, if possible. Remove grass and weeds from at least a 2-foot-wide strip along your marked line. Loosen the soil to a depth of 12 to 15 inches and work in 2 to 3 inches of peat moss or compost. Sky Pencil grows in acid or neutral soil, so if yours runs strongly alkaline, amending it now prevents future yellowing.
Step 2: Dig Individual Planting Holes
At each marked spot, dig a hole slightly wider than the root ball of your container plant and just as deep. A rule: the top of the root ball should sit level with the surrounding soil, not buried. If you plant too deep, the stem can rot.
Step 3: Set Each Plant
Remove the Sky Pencil from its container and gently loosen the root ball with your fingers. Set it in the hole so the top sits flush with grade. Backfill with the amended soil, pressing firmly but not compacting. The plant should stand upright without tilting.
Step 4: Water Thoroughly
Water each newly planted holly immediately and deeply. This settles the soil and eliminates air pockets. Soak the area so water penetrates 8 to 10 inches down.
Step 5: Apply Mulch
Spread 2 to 3 inches of mulch around the base of each plant, keeping it a few inches back from the stem to prevent rot. Mulch preserves soil moisture and moderates soil temperature, both critical for establishment.
Step 6: Fertilize Lightly
Apply a balanced or acid-forming holly fertilizer according to label directions. Spring planting gets a light feeding to support growth. Skip it for fall planting so tender growth doesn't invite winter damage.
Planting Checklist
Run through this list before you call the row finished.
- Measured hedge length and calculated plant count
- Marked planting spots with stakes or paint
- Amended soil with peat moss or compost
- Dug holes level with surrounding grade
- Planted at correct depth (top of root ball flush with soil)
- Watered thoroughly after planting
- Applied 2 to 3 inches of mulch
- Fertilized lightly with balanced or holly-type fertilizer
- Scheduled regular watering for the first season
Adjusting Sky Pencil Spacing for Climate and Sun
Your climate changes how fast the row fills in, and that should nudge your spacing one way or the other. Check our hardiness zone guide if you are unsure where you sit.
NC State lists Sky Pencil for zones 5a through 8b and warns of heat and humidity trouble in zones 8 and 9. Growth is slow everywhere, and slowest in the cold end of the range. In zone 6 and colder, tighter spacing at 1.5 feet helps you reach density sooner. In warmer zones, stay at 1.5 to 2 feet, since the plants will not crowd each other quickly.
Sources list full sun to part shade for this cultivar, with no strong preference. Full sun gives the most compact, dense form. If your hedge site gets hot afternoon sun, slightly tighter spacing lets the plants shade each other's lower stems. Our sun requirements guide covers the details.
What Your Hedge Looks Like in Year One Through Five
Sky Pencil is a slow-growing evergreen shrub, so be patient. Here is what to expect and what to do each year.
Year one is about establishment. Keep soil consistently moist, not waterlogged, and water during dry spells. In the first summer, you should see new growth, so resist the urge to prune it.
By year two, plants have put on some height and started to thicken. If you want to encourage branching and density, you can lightly shear the hedge in late spring after the spring growth flush. Avoid heavy pruning or shearing in late fall, which can trigger tender new growth vulnerable to cold. Our pruning guide shows how to do it without ruining the shape.
Minimal pruning is actually the Sky Pencil's gift. The cultivar is naturally narrow, so you won't spend years fighting to keep a hedge in shape. Occasional light shaping is all most hedges need.
At 1.5-foot spacing in zone 7 or 8, you should see an established-looking hedge with visible structure by year three. A privacy screen typically needs 4 to 5 years to develop full density, though you'll have functional screening sooner. A closely spaced hedge (1 foot) fills faster, and a wider spacing (3 feet) takes longer but gives individual plants room to express their natural form.
See the Sky Pencil Japanese Holly care guide for detailed maintenance once your hedge is established.
Give Your Sky Pencil Hedge Room to Stay Slim
Space Sky Pencil for the narrow cultivar it is, not for the wide-spreading species. Plant at 1.5 feet for most hedges, go to 2 or 3 feet for a more open, contemporary look, and measure carefully so the gaps stay even. Prepare the soil, plant level with the grade, and give the row a few years to knit together.
Sky Pencil Japanese Holly
Nursery-grown Sky Pencil Japanese Holly in sizes from 1-2 ft. #1 Container, shipped to your door.
From $80.55
Shop Now →On our farms, we grow Sky Pencil in full sun to light shade, in loose, acidic, well-drained beds with steady moisture and enough elbow room that each plant keeps its slim shape. We are growers with our own farms, and we grow and sell top-quality plants that arrive ready to line up in your hedge.